The content of this post is solely the responsibility of the author. LevelBlue does not adopt or endorse any of the views, positions, or information provided by the author in this article.
In the previous blog we covered how to use PGP keys for encrypting and decrypting emails on desktop clients like Thunderbird and Outlook. Now, let's take a look on securing your emails without too much hassle using OpenPGP on webmail services like Gmail using the Mailvelope extension for Google Chrome.
Setting Up Mailvelope on Google Chrome
To smoothen the process login to your webmail before proceeding to further steps, in this scenario login to your gmail account and follow further steps:
Install Mailvelope Extension:
Go to the Browser Web Store. Since we are using Google Chrome we will head to Chrome Web Store
Search for Mailvelope: In the search bar, type "Mailvelope" and press Enter, alternatively you can directly access mailvelope browser extension here
Add to Chrome: Click on the Mailvelope extension from the search results, and then click the "Add to Chrome" button. Confirm the installation by clicking "Add extension" in the pop-up window.
Access Mailvelope:
Go to the Extensions Toolbar: Once Mailvelope is installed, go to the extensions icon (a puzzle piece) in the Chrome toolbar.
Select Mailvelope: Click on the Mailvelope icon and select "Let's start."
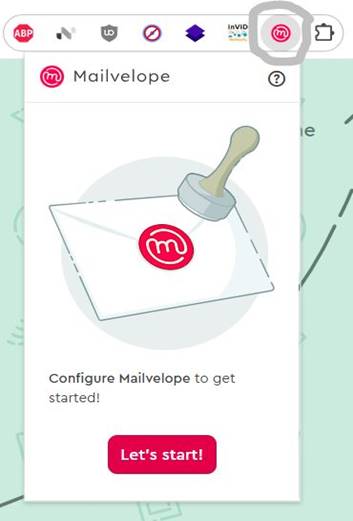
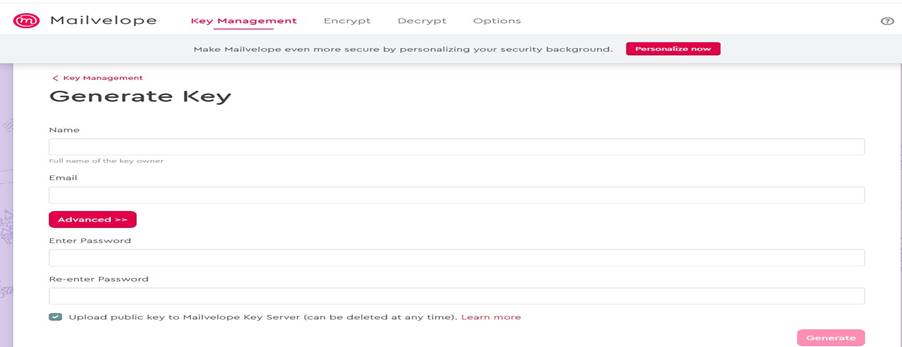
You will be taken to the Mailvelope Key Management page. Since this is your first time using Mailvelope, you will need to generate a new pair of keys. On the Key Management page, click the "Generate Key" button.
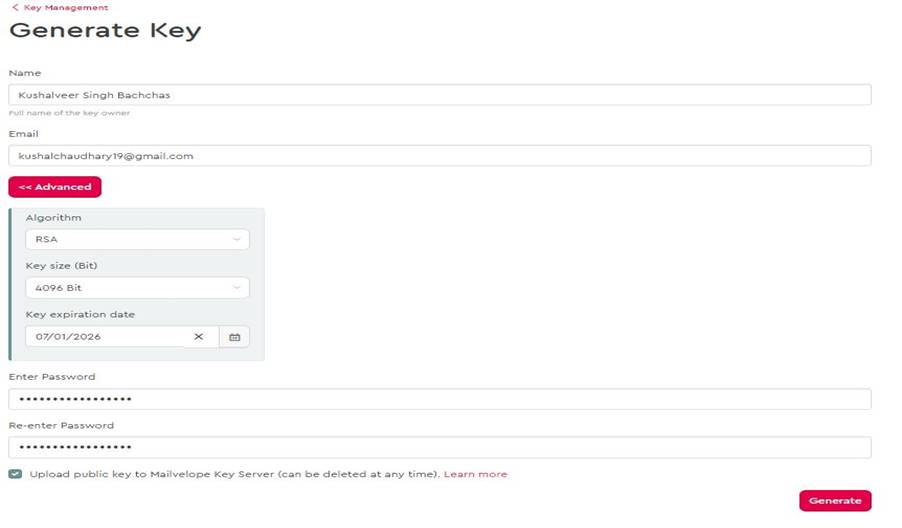
You will be prompted to fill out a form. Enter your name and email address. Under the advanced tab, you can set the algorithm (usually RSA), key size (at least 2048 bits for good security), and key expiration date. Additionally, set a strong password to validate your key.
Generate the Key:
After entering your details, click "Generate."
The key generation process will take a moment as Mailvelope works its magic in the background. Once the keys are generated, you will see a message saying that the new key has been generated and imported into your key ring. You will also receive an email for account verification.
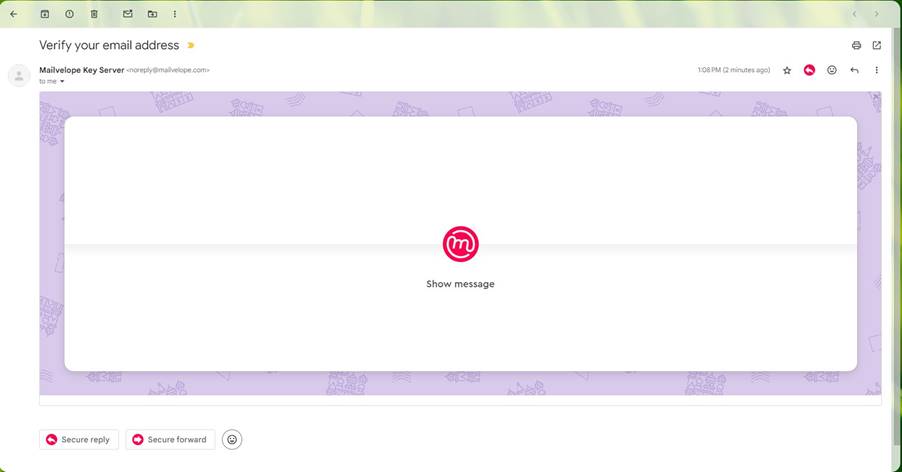
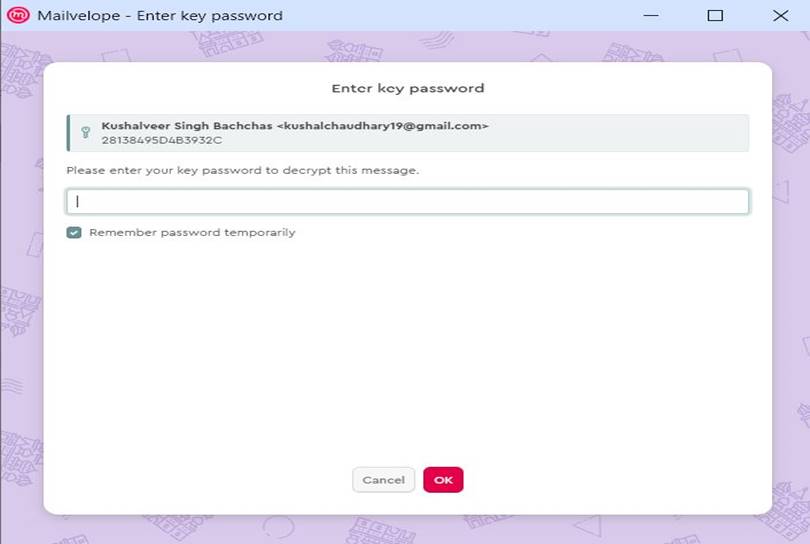
Voila! an encrypted email. Click on show message and enter the password you setup during the key generation process to decrypt the email.
After that follow the verification link in email to verify your account. Congratulations, your PGP keys are now set up! (If you already generated a PGP key pair using the steps from the previous article, you can import them into Mailvelope instead of generating new ones using import key option on the key management page.)
Now that your keys are set up, you can start sending and receiving encrypted emails.
Click on the mailvelope icon adjacent to compose in gmail, now the extension will ask required permissions to read and send email. After that you will be prompted with a compose secure email form.
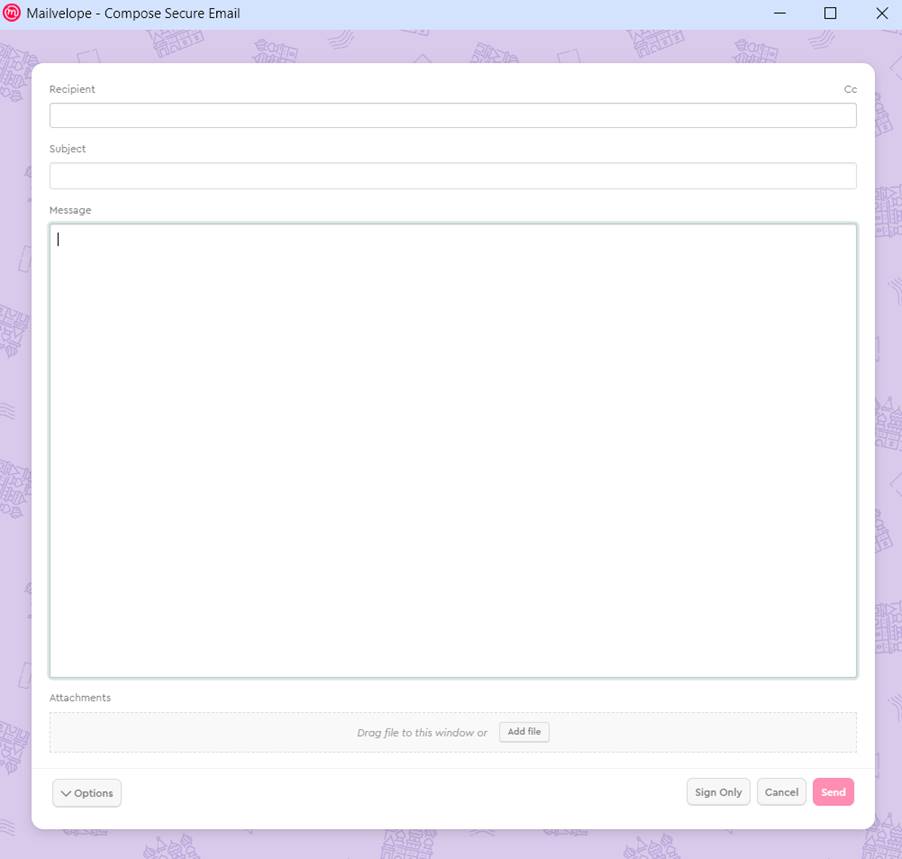
Choose the recipient's public key from your key ring and complete the encryption process. After that you will be required to sign the message by providing the Key password

Mailvelope makes it easy to send and receive encrypted emails directly from your web browser. By following these steps, you can ensure that your email communications remain private and secure. Remember, while Mailvelope is a convenient tool, there are other solutions available, and you should choose the one that best fits your needs. Stay safe and keep your digital communications protected!